Once you completely provision the VM, you can connect to the VM as below
![](https://cdn.dxcloudsuite.io/wp-content/uploads/2023/05/30133219/image-44.png)
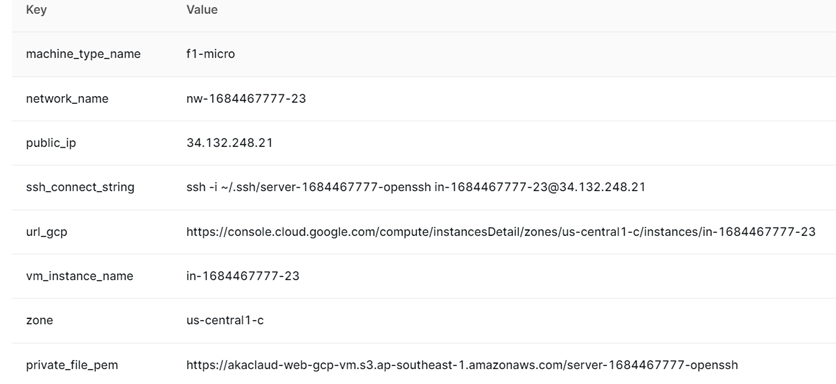
First, we can download the file pem at
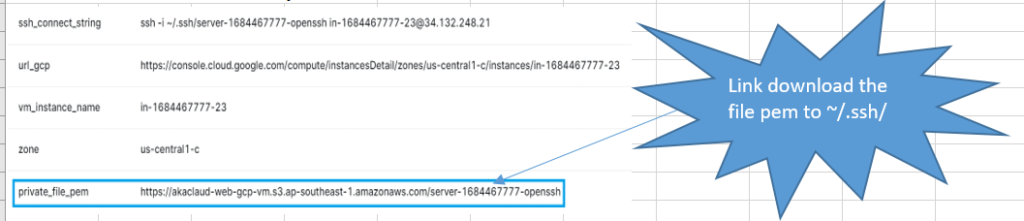
![](https://cdn.dxcloudsuite.io/wp-content/uploads/2023/05/30133330/image-45-1024x221.png)
Windows
For Windows users, we can copy the file pem to folder ~/.ssh/
![](https://cdn.dxcloudsuite.io/wp-content/uploads/2023/05/30133420/image-46.png)
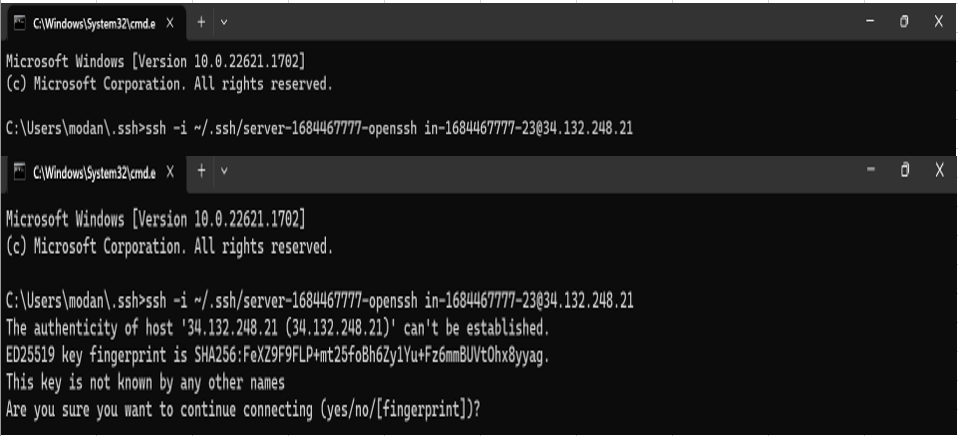
Then, we can go to command line
![](https://cdn.dxcloudsuite.io/wp-content/uploads/2023/05/30133451/image-47.png)
And then, we can run the ssh script that can connect to VM, with the script we can get from the template output
![](https://cdn.dxcloudsuite.io/wp-content/uploads/2023/05/30133547/image-48-1024x238.png)
![](https://cdn.dxcloudsuite.io/wp-content/uploads/2023/05/30133619/image-49.png)
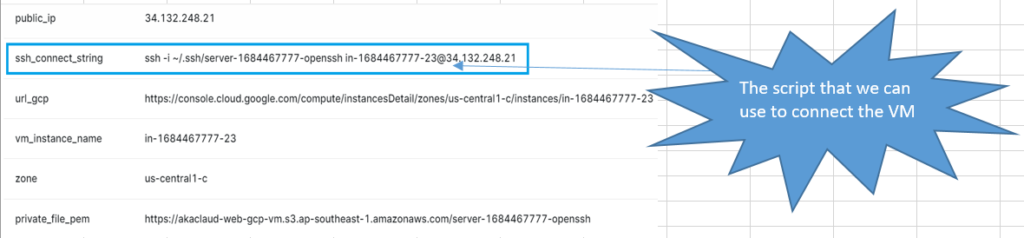
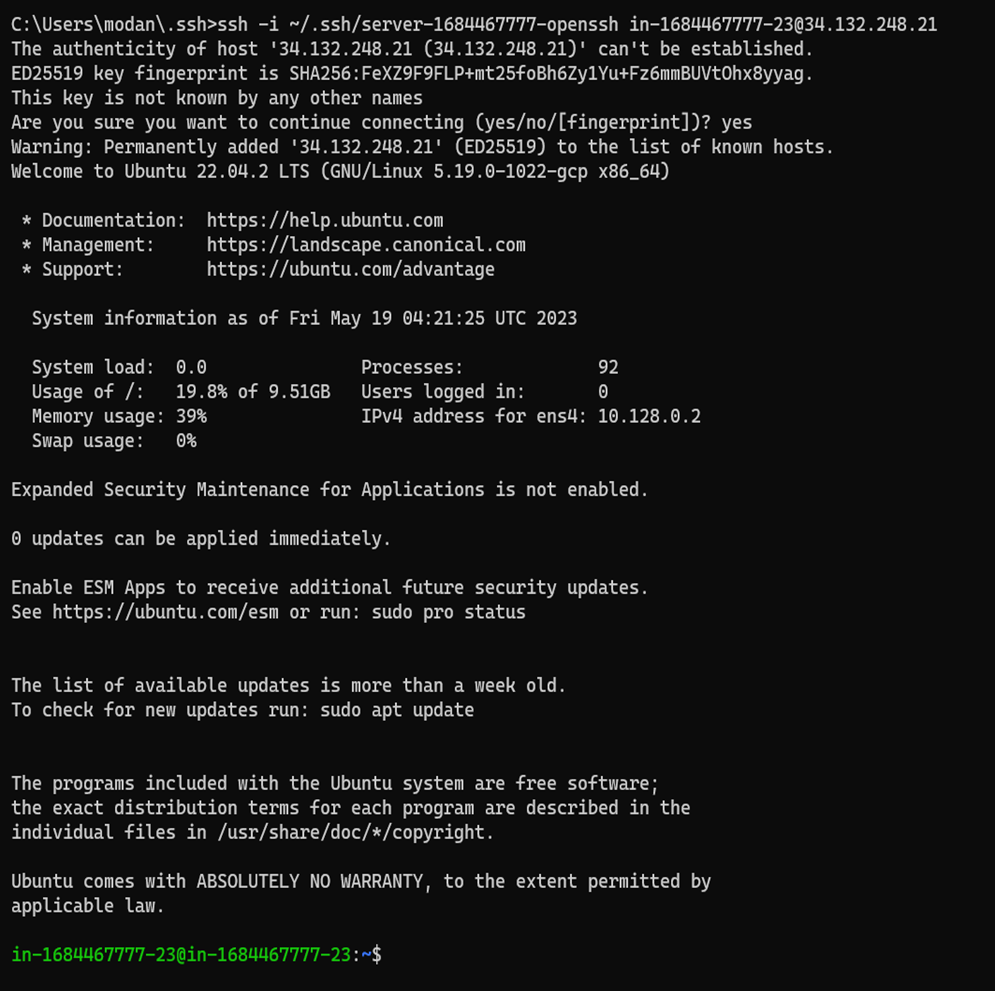
Then, we can input yes for finish connect to the VM
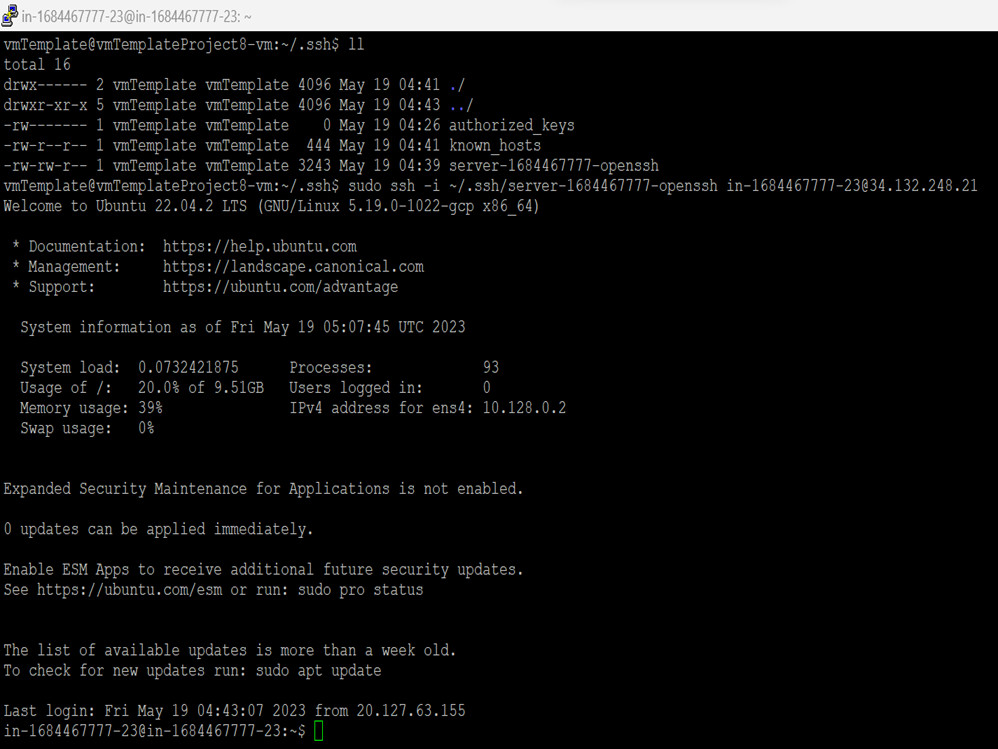
![](https://cdn.dxcloudsuite.io/wp-content/uploads/2023/05/30133644/image-50.png)
Linux
We have connected to the VM with steps like the window setup
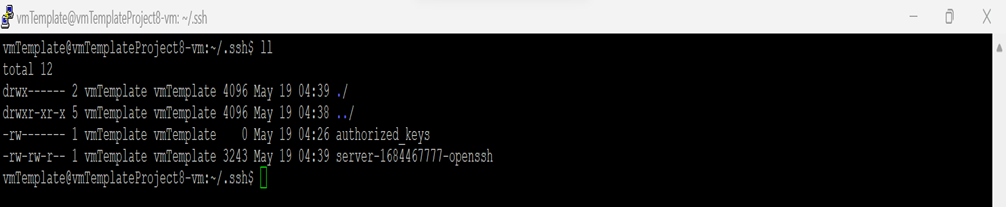
Copy the file pem to the folder .ssh/
![](https://cdn.dxcloudsuite.io/wp-content/uploads/2023/05/30133712/image-51.png)
On Linux OS, we should use sudo when running script below
![](https://cdn.dxcloudsuite.io/wp-content/uploads/2023/05/30133742/image-52.png)
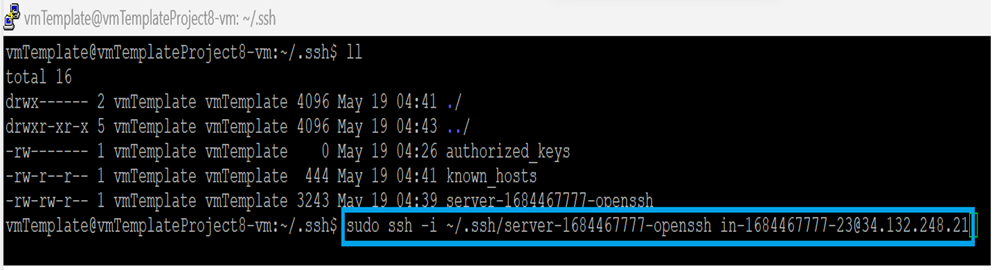
Then, we can connect the VM
![](https://cdn.dxcloudsuite.io/wp-content/uploads/2023/05/30133840/image-54.png)