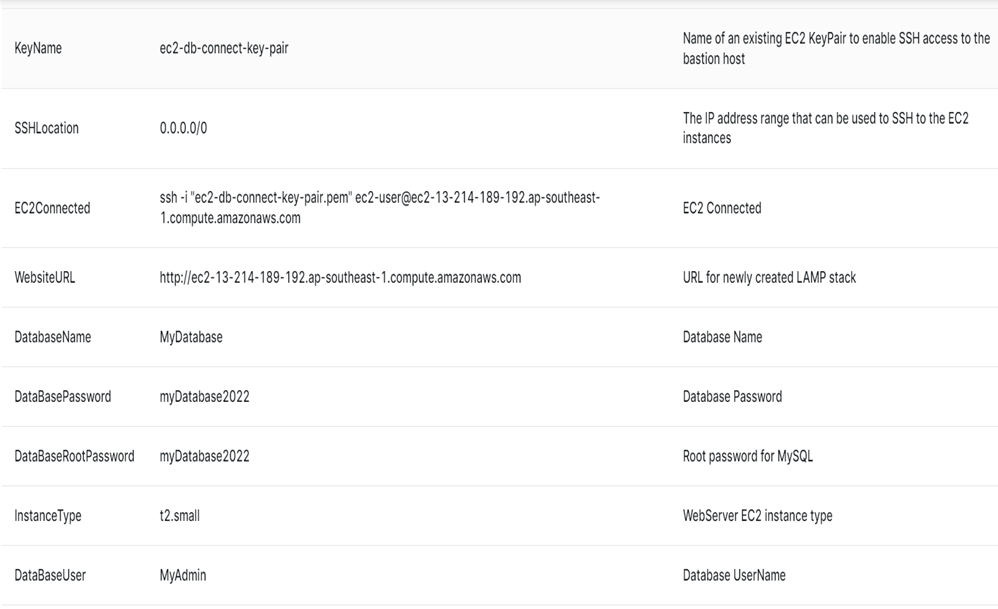
Once you completely provision the lamp stack, you can connect to the lamp stack as below
![](https://cdn.dxcloudsuite.io/wp-content/uploads/2023/05/31163724/image-65.png)
Then, we can connect the VM by use the script output
![](https://cdn.dxcloudsuite.io/wp-content/uploads/2023/05/31163906/image-66-1024x128.png)
Then, we can refer 'https://blog.dxcloudsuite.io/guideline-connects-the-vm-aws/' for connecting to the VM
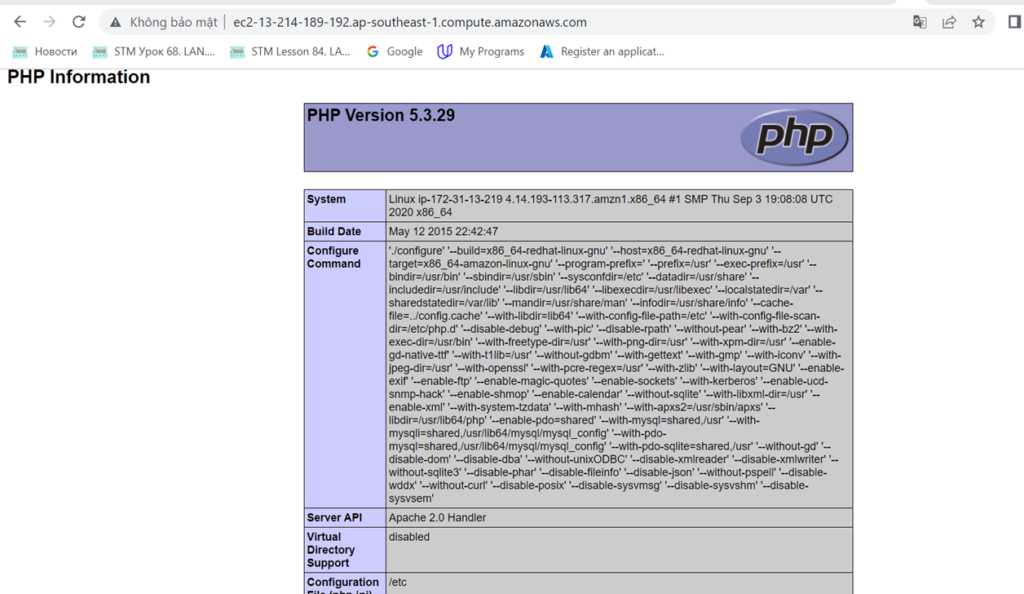
Then, we can get the URL from the template output for get more information about PHP
![](https://cdn.dxcloudsuite.io/wp-content/uploads/2023/05/31164154/image-67-1024x126.png)
![](https://cdn.dxcloudsuite.io/wp-content/uploads/2023/05/31164252/image-68-1024x594.png)
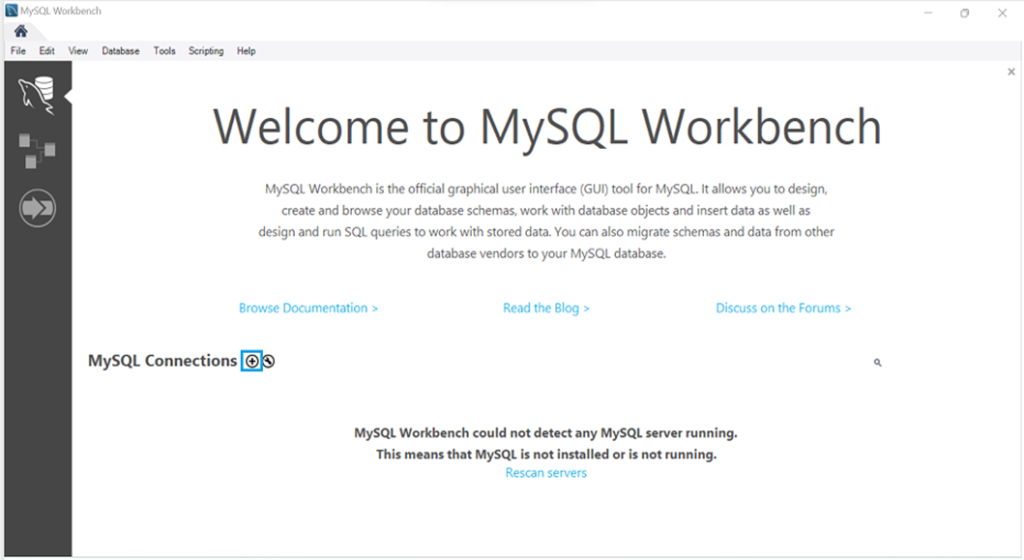
Then, we can connect the MySQL database by using the output
And then, we open the MySQL workbench, and then click the button '+'
![](https://cdn.dxcloudsuite.io/wp-content/uploads/2023/05/31164629/image-69-1024x560.png)
Then, we choose 'Standard TCP/IP over SSH'
![](https://cdn.dxcloudsuite.io/wp-content/uploads/2023/05/31165400/image-70-1024x681.png)
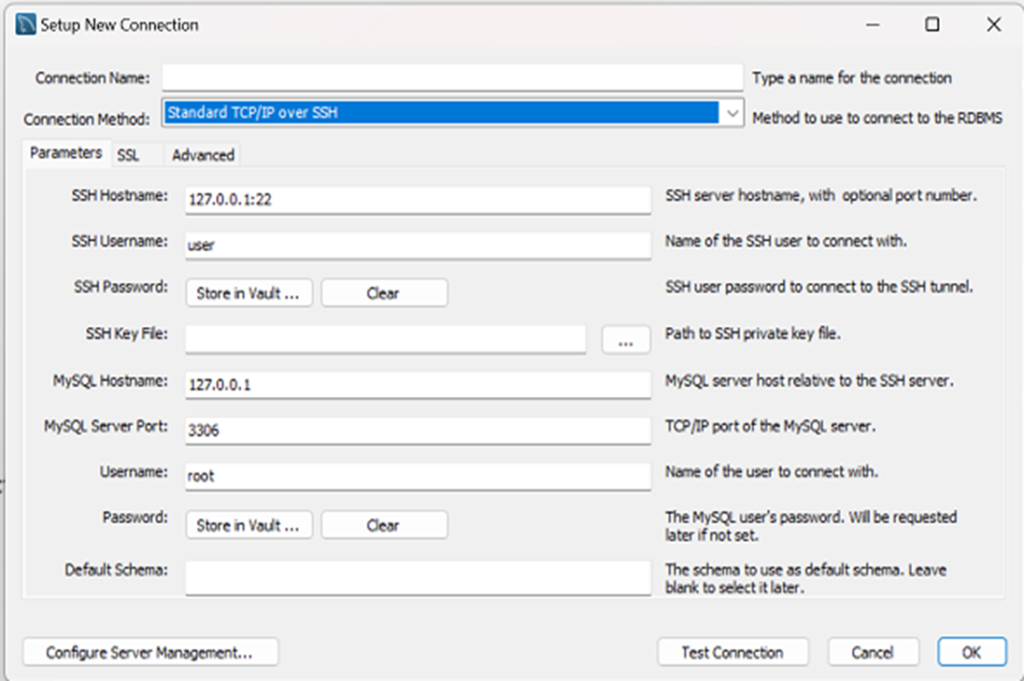
Then, we will be configure below
![](https://cdn.dxcloudsuite.io/wp-content/uploads/2023/05/31165527/image-71-1024x294.png)
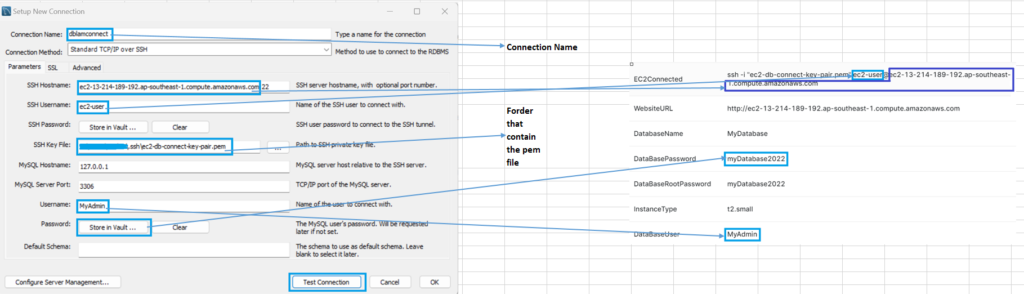
Then, we click the button 'Test Connection'
![](https://cdn.dxcloudsuite.io/wp-content/uploads/2023/05/31165648/image-72-1024x642.png)
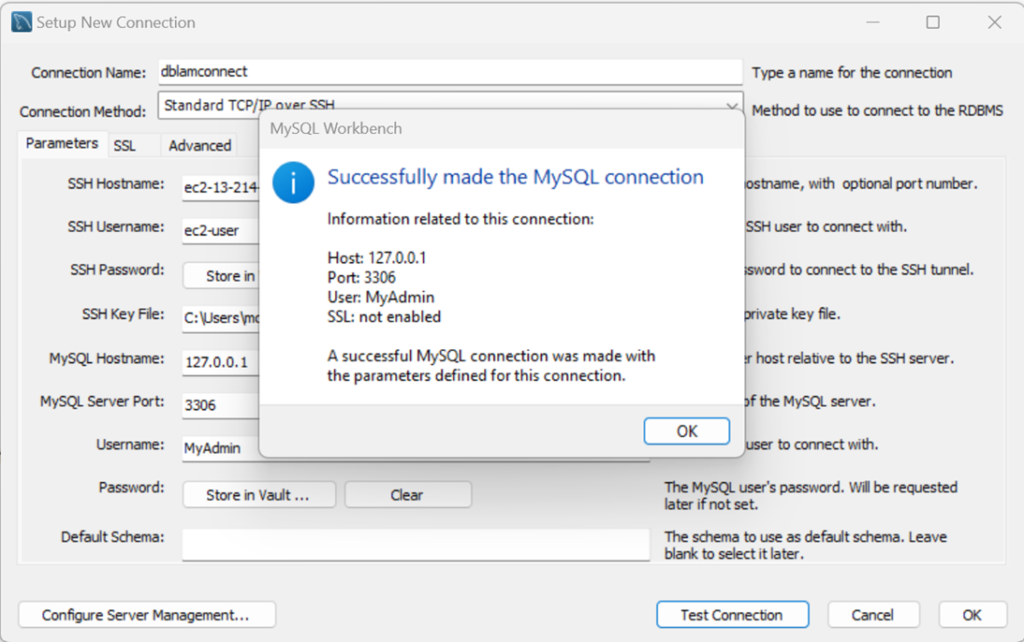
Then, we click the button OK
![](https://cdn.dxcloudsuite.io/wp-content/uploads/2023/05/31170326/image-73-1024x530.png)
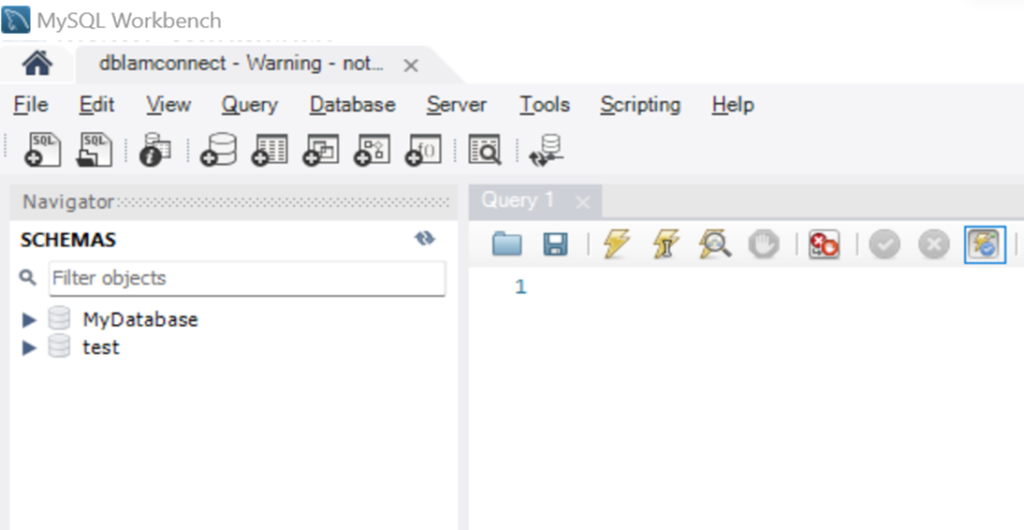
Finally, we can double click on the configuration that can connect the database
![](https://cdn.dxcloudsuite.io/wp-content/uploads/2023/05/31170402/image-74-1024x530.png)